Whether your need for a clothesline stems from an issue with your dryer, a desire to reduce energy usage, or out of personal preference, it doesn't need to be an eyesore. Read on to learn how to build a clothesline that will enhance the look of your yard rather than detract from it, courtesy of the appliance repair experts at Mr. Appliance®.
Why Put Up a DIY Clothesline?
Once you've determined if your city, local community and/or Home Owners’ Association allows clotheslines, you can harness the power of the great outdoors with benefits that include:
- Save money on the cost of energy
- Prolong the lifespan of your dryer
- Gentler on fabrics
- Fresh smelling clothing, towels, and bedding
- Whitening power of the sun can help to remove stains
- Great exercise
- And more!
Make the most of a cramped space with these small laundry room ideas and design tips from Mr. Appliance!
How to Build a Clothesline
Our tutorial is for a basic, multi-lined clothesline that looks good, and can be customized to suit your exact requirements:
Materials Needed
- Three, 2.4384 meter landscape timbers
- Four, 0.6096 meter x 1.2192 meter boards, each cut at a 45-degree angle on either end
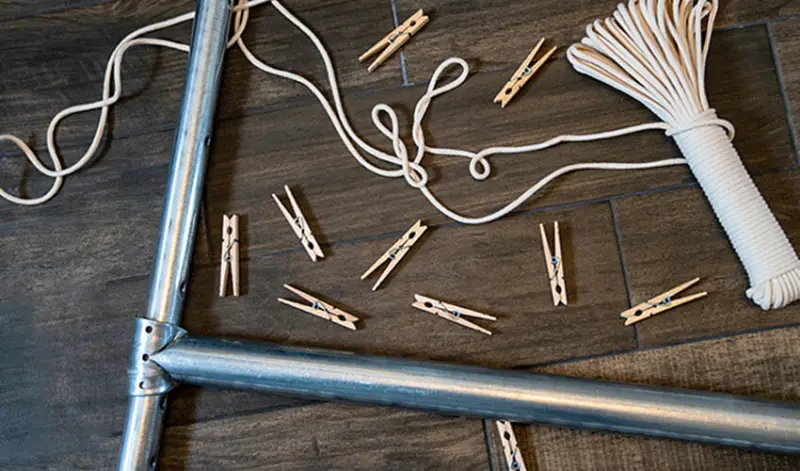
- Clothesline
- 6 eye hooks
- 6 clothesline pulleys
- 3 line tighteners
- 4 of each – bolts, 17.78 centimeters in length, nuts, and washers
- Galvanized or stainless-steel screws
- Quick-drying cement
- Posthole digger or shovel
- Level
- Chisel
- Drill
- Hammer
- Saw
- Wrench
1. Choose an area of your yard that receives full sun throughout most of the day, away from trees.
2. Determine how far apart you want the posts to be, and dig your holes.
3. Cut one of the 2.4384 meter landscape timbers in half to make two, 1.2192 meter pieces each of which will form the "T" at the top of the pole.
4. Carefully measure and install three of the eye hooks on each of the 1.2192 meter sections, spacing them to allow ample room in between.
5. Use your chisel to carve out a notch towards the top of each of the remaining 8' landscape timbers large enough for the 1.2192 meter section of the "T" to nestle into.
6. Center the 1.2192 meter section into the notch and attach using the nuts and bolts.
7. Attach the 0.6096 meter x 1.2192 meter boards to each pole in a "Y" formation using screws, in order to brace the bottom of each 1.2192 meter section.
8. Determine a comfortable height for your clothesline, and set the posts into the holes at a suitable depth.
9. Brace the structure and pour the mixed concrete into each hole and ensure the posts are level before leaving it to dry.
10. Once the concrete has dried, string the clotheslines using pulleys and line tighteners for a perfect fit.
While you're making changes to enhance the appearance and functionality of your backyard, why not upgrade your deck railing? Mr. Handyman®, one of our fellow Neighbourly brands, is here to help, with expert advice and skilled craftsman to assist with all your indoor and outdoor projects.
Additional DIY Clothesline Ideas
Short on space? Try these scaled-down versions:
- Attach hooks or brackets to the fence on either side of the yard.
- Attach brackets to the exterior of your shed.
- Attach brackets to the exterior facing of your deck railing.
Cold or wet weather can make you appreciate your gas or electric clothes dryer, but if your motivation for building a DIY clothesline is a broken or poorly functioning unit, you can count on the skilled professionals at Mr. Appliance to complete your dryer repair expertly and efficiently. Contact us today or call us to schedule an appointment for appliance repair near you!