
Your refrigerator’s coils work to compress and cool the refrigerant chemicals in your appliance. Dirt, dust, and pet hair can accumulate on a refrigerator’s condenser coils, which can have some pretty undesirable effects such as:
- A warmer-than-normal refrigerator
- A compressor that needs frequent repair
- A refrigerator that has stopped working altogether and needs to be replaced
Clean fridge coils are a must in order for your appliance to function optimally. Clean your refrigerator’s coils every six months by using a brush and vacuum cleaner, or hire a professional for a tune-up. Doing so will help to keep your fridge working efficiently. If you have dogs or cats who shed hair frequently, you will likely need to complete this chore more often.
Safety First
Cleaning fridge coils is a dusty and dirty job. You must have the following personal protective gear and use it during the process.
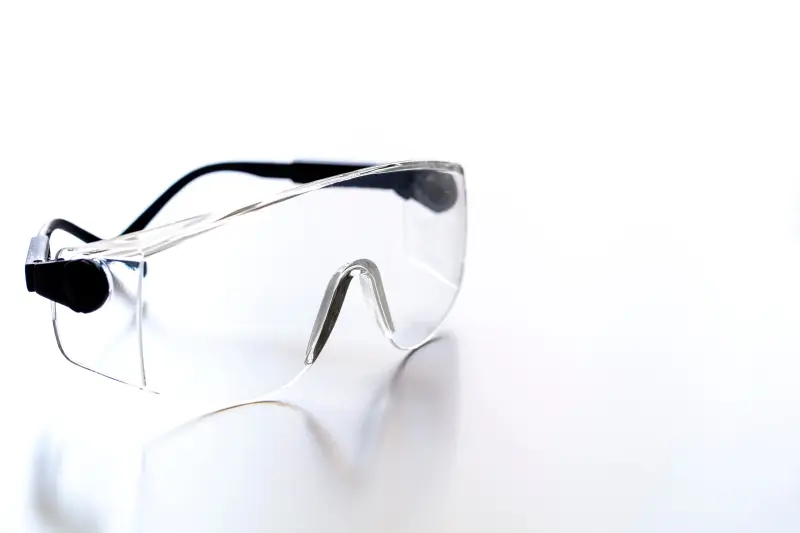
Eye Protection
N95 Dust Mask

Rubber Cleaning Gloves

Refrigerator Instruction Manual

Cleaning Materials You’ll Need
Before you start the cleaning process, take the time to gather the materials you’ll need. Gathering these in advance will simplify and shorten the cleaning process.
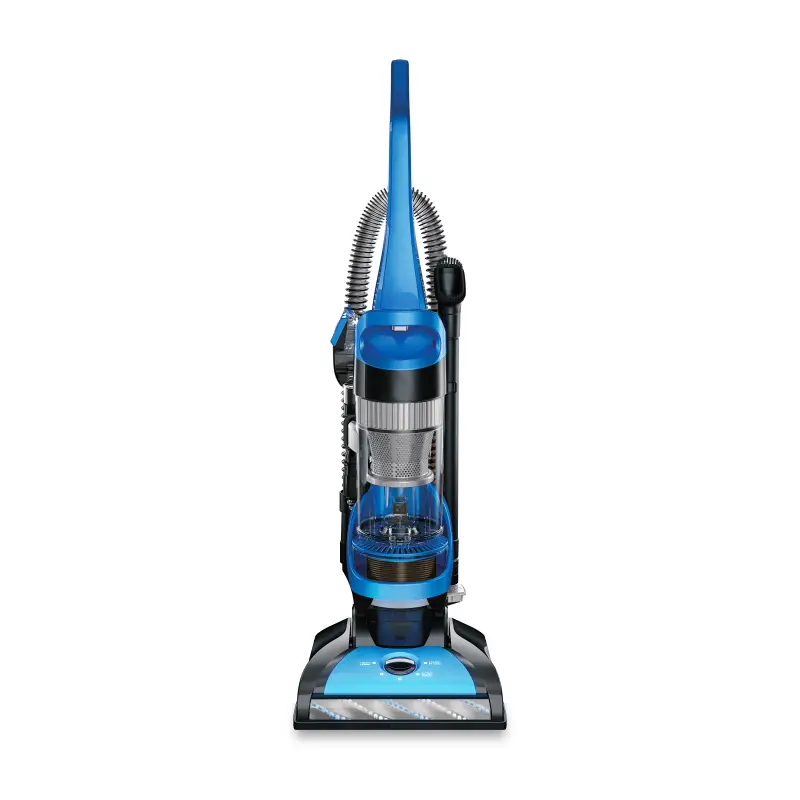
A vacuum cleaner to suction any excess debris
A soft, clean cloth to wipe away any lingering dust

A coil cleaning brush to get into those hard-to-reach places. Professional appliance repair services use specialty coil cleaning brushes designed to clean fridge coils. You can purchase these for your own vacuum cleaner. Although you might be tempted to simply use a paintbrush or rag in those spots, we advise against this as it won’t do an adequate job by leaving behind dust and debris in some places.

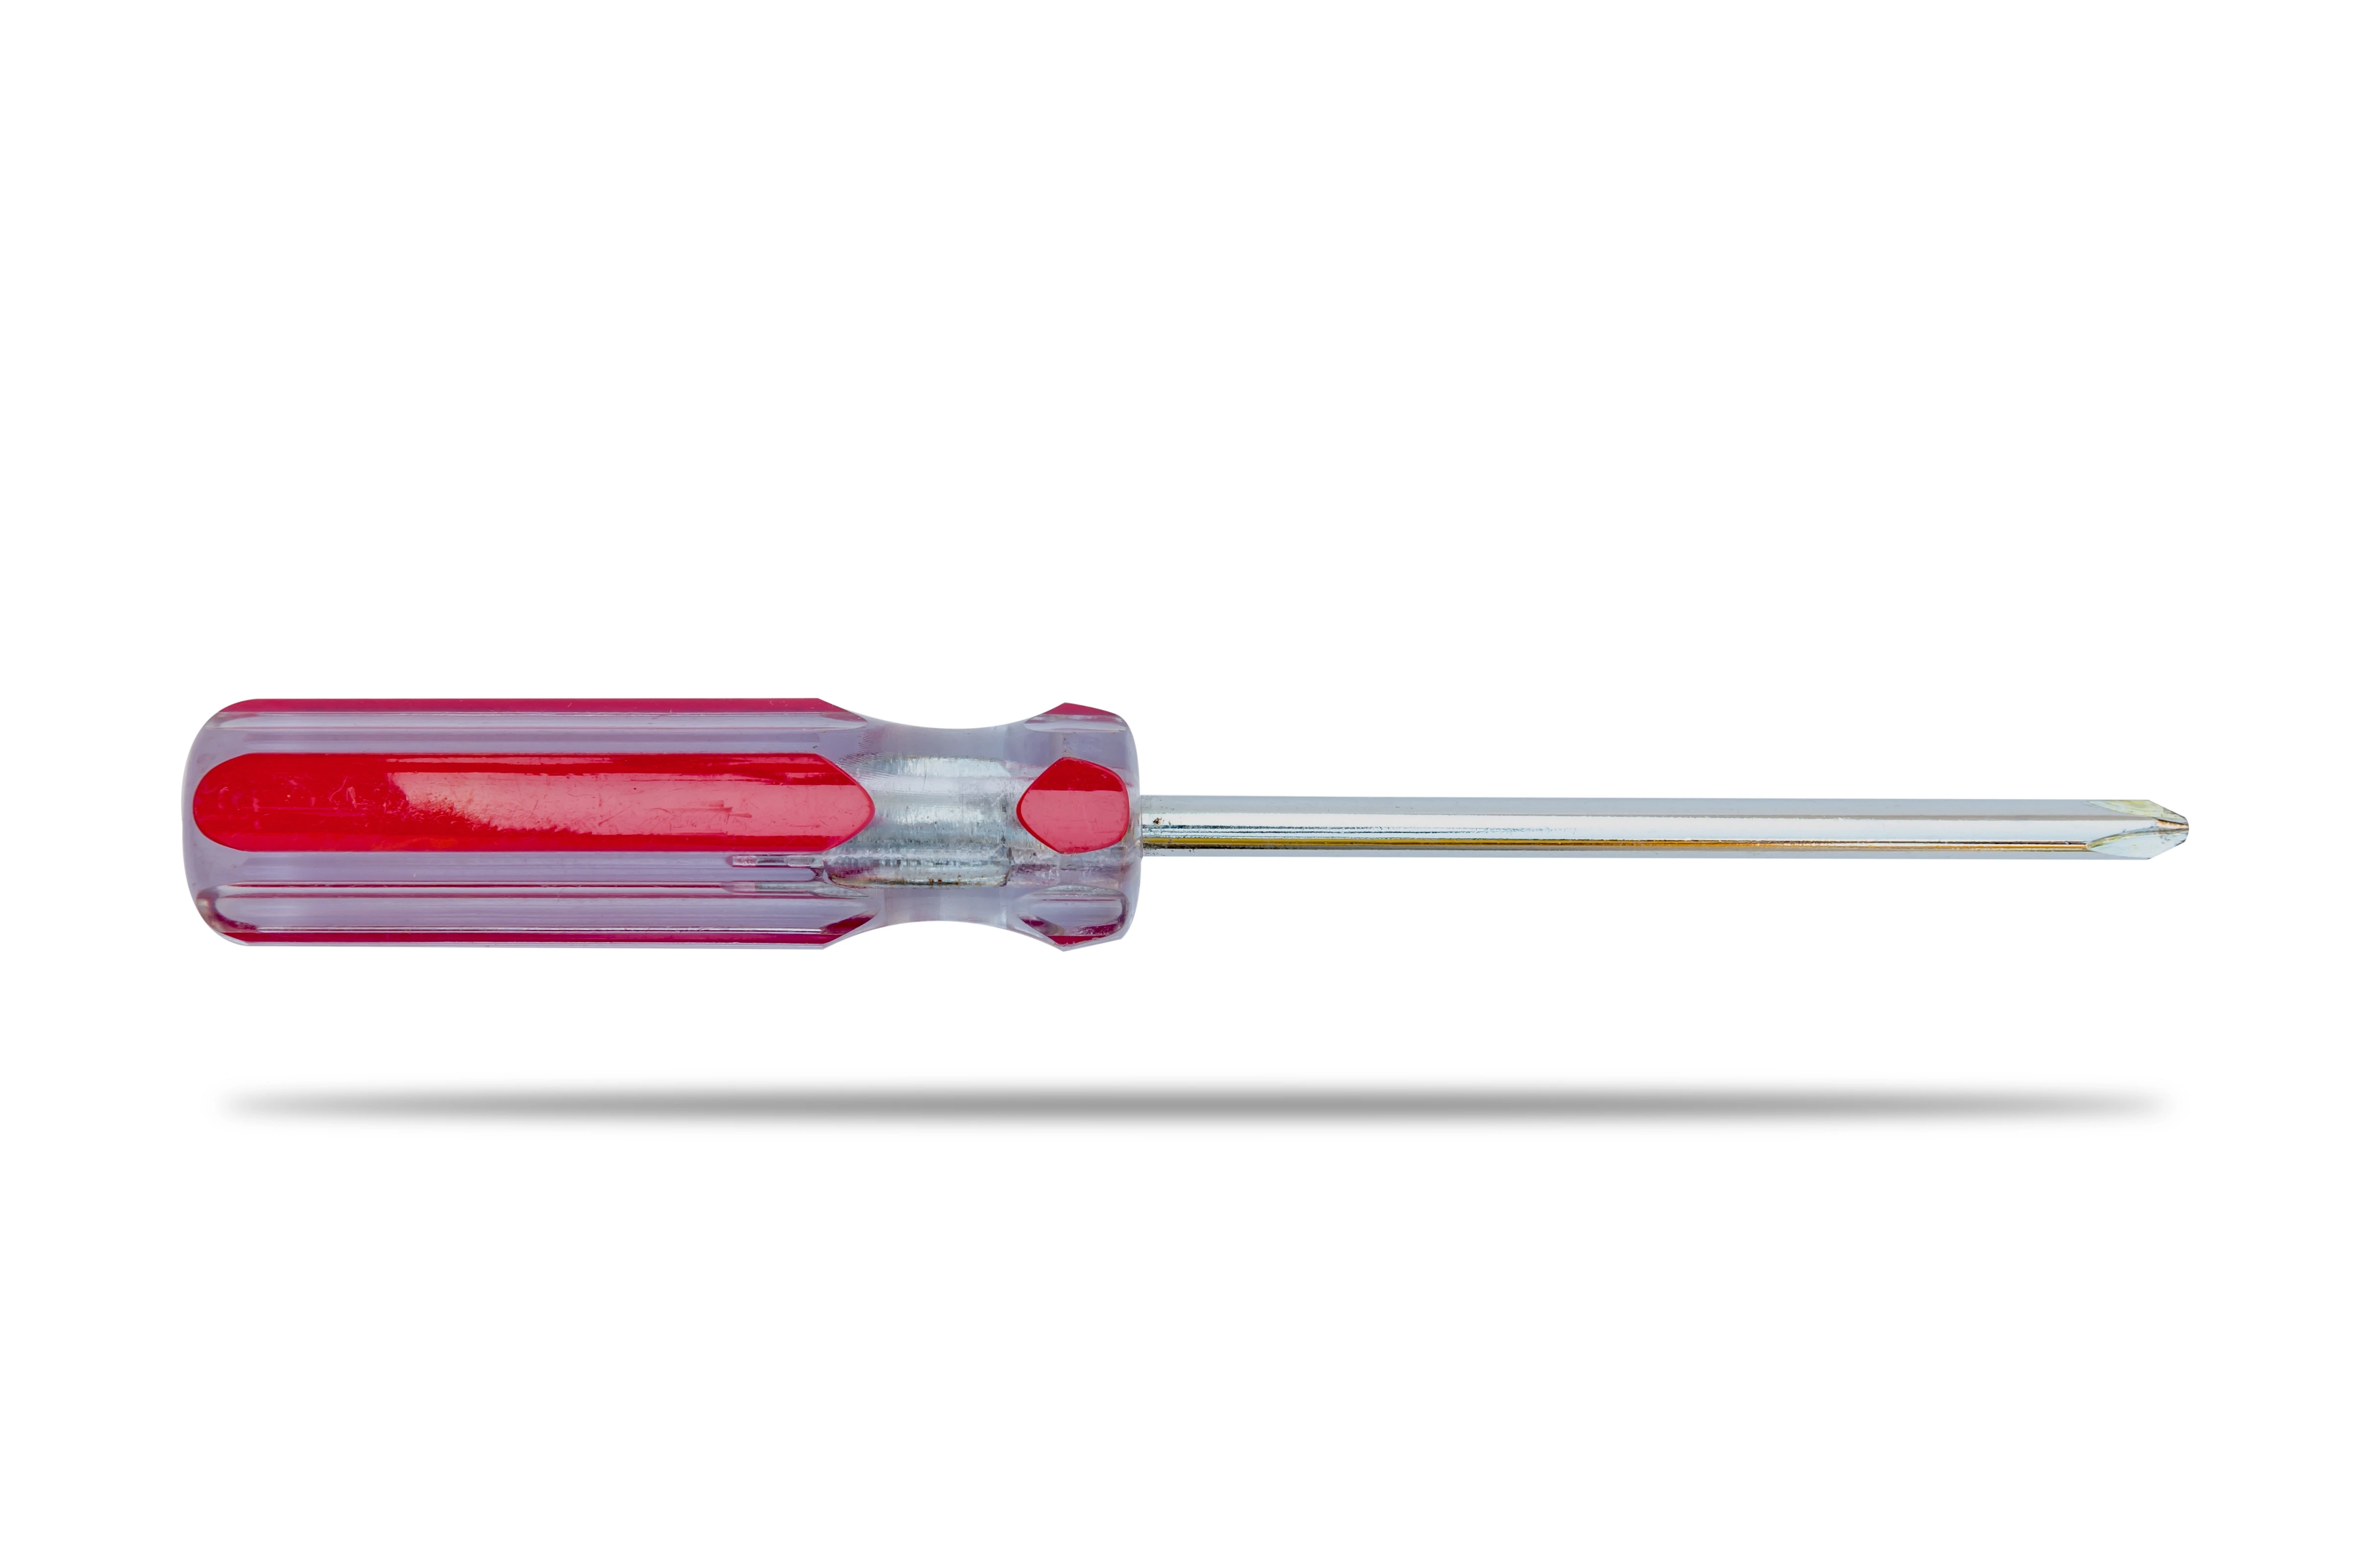
A screwdriver is likely needed as you may need to remove a panel to get to your appliance’s coils
How to Clean Refrigerator Coils
You must first unplug your refrigerator before cleaning to stop the flow of electrical current to your appliance.
Next, use your appliance’s instruction manual to identify the location of your coils. They’ll either be in the front below the door, or at the bottom rear of the refrigerator. If they’re behind the fridge, you’ll need to roll it out from the wall to access.
Look for the horizontal lines of your grille vents to find your coils. Once you locate the grille, unsnap it from the refrigerator with a simple tug.
With the grille free, you’ll see thin, metal bars spaced about 25mm apart. These are your coils. Clean them with three steps:
1. Brush free the debris
Use your coil cleaning brush to brush in long strokes across the coils, both vertically and horizontally, to loosen dust and debris.
2. Vacuum the debris
After loosening the buildup, use your vacuum’s detachable hose to pick up the dust and debris. Use your clean cloth to wipe away any dirt left behind.
3. Reattach the grille and plug the refrigerator back in
Once finished, reattach the grille so that it covers the coils again. Then, don’t forget to plug it back in your refrigerator.

Contact Mr. Appliance to Clean Your Fridge Coils
The above is a dirty job and will take a significant amount of your time. Let our experienced appliance professionals clean your fridge coils to properly maintain your appliance. Schedule your maintenance appointment online or call us to get started.