A new garburator can enhance your lifestyle, saving you time while helping to reduce your impact on the environment. Whether you need to replace your old or worn-out appliance or you are installing a new garburator as part of a kitchen remodel or renovation, it's important to follow the proper procedures to ensure optimal performance and safety. The experts at Mr. Appliance® are pleased to provide you with a comprehensive guide on how to install a garburator to help you complete this project yourself, but if you lack the skills or desire to tackle the installation, be sure to hire an expert for efficient, reliable results.
Garburator Installation Tips
Although the procedure for a new installation is similar to that of a replacement, there are a few important details you will need to consider. The unit will require a dedicated, easily accessible on/off switch in close proximity to the sink, and a dedicated 20-amp, 120-volt outlet underneath the sink to power up the garburator.
List of Tools and Materials
- Assistant
- Channel-type pliers
- Garburator drain fitting and mounting ring
- Hammer
- Plumber's putty
- Screwdriver
- Power cord
Follow these steps for installation:
1. Remove the old garburator.
- Begin by disconnecting the power at the breaker box and unplugging the garburator.
- Disconnect the drain assembly.
- Disconnect the garburator from the flange assembly and remove it from the drain.
- Remove the old garburator.
2. Install the drain fittings.
- While the old drain flange may appear to be in good shape, it is best to replace it with a new fitting at the time of the installation.
- Place a one-half inch thick ring of plumber's putty around the drain opening of the sink.
- Place the drain flange into the opening and press firmly to allow it to adhere to the putty.
- Have your assistant hold the flange in place while you situate yourself beneath the sink or lay a towel in the sink and set the disposal on top to prevent it from moving.
- Stack the fibrous gasket and mounting ring and install them onto the bottom of the flange.
- Install the round clip spring by prying it open and snapping into place.
- Tighten the screws evenly and remove any excess putty.
3. Connect the power.
- Remove the wire cover plate found at the base of the garburator.
- Connect the electrical cord by matching the wire colors, black to black, white to white, and green to green, and securing with wire nuts.
- Tuck the connected wires back in and reattach the cover plate.
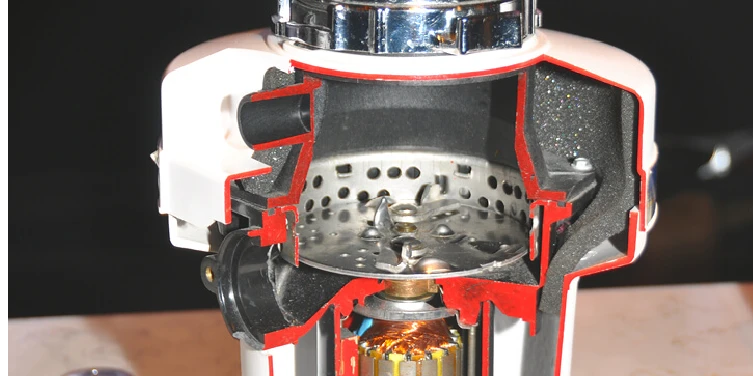
4. Mount the garburator.
- Line up the top collar of the garburator with the three mounting ears on the sink mounting assembly.
- Rotate the top collar until the three ears engage into the collar on the underside of the fitting.
5. Connect the plumbing.
- Insert the gasket in the discharge outlet and attach the tube with the flange and screws.
- Position the garburator so that the discharge tube lines up with the sink drain waste trap and ensure all connections are tight.
6. Lock the unit in place.
- Tighten the rotating cam collar on the disposal until you hear a click.
- Test your connections by running water into the sink.
- If no leaks are detected, restore power to the unit and test the operation of the disposal using a combination of water and organic material.