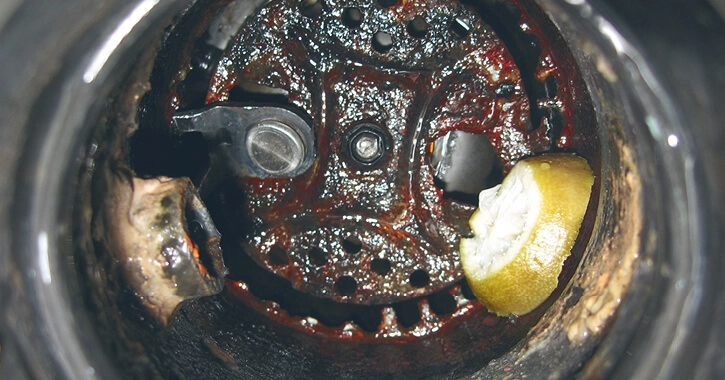
How to Fix a Clogged Garburator

A garburator is a modern convenience which can help to significantly reduce the amount of waste that your home produces. What is not convenient, however, is a clogged garburator, which can occur for any number of reasons. Read on to learn some helpful tips to prevent clogs from recurring and great advice on how to fix a clogged garburator from the experts at Mr. Appliance®.
What Causes a Garburator to Clog?
A garburator is designed to convert food scraps into liquid waste using a combination of water and mechanics. In order for a clog to form there must be sufficient material blocking the flow of water down the drain, caused by one or more of the following:
- Lack of water - Once the food waste has been finely ground it requires an adequate supply of water to allow it to continue to flow through the drainage system. Lack of water can cause these materials to build up in sufficient quantities to clog the garburator and prevent water from penetrating.
- Granular materials - Ground items such as eggshells or coffee grounds become tiny grains which can adhere to any existing sludge and cause a clog.
- Fibrous materials - Banana peels, celery, artichokes, and other fibrous foods can become enmeshed with other materials and/or catch on the impellers.
- Starch - Potato peels are high in starch and can form an impenetrable paste when ground up and mixed with additional liquid.
Tips to Prevent a Clogged Garburator
- Use cold water, not hot, for the duration of the grinding process and for at least 30 seconds after.
- Make it a habit to periodically turn on the cold water and run the disposal without any food present.
- Cut up larger items into bite-sized pieces.
- In addition to those items listed above, avoid placing the following materials into the disposal to prevent clogs:
- Bones
- Pits
- Corn cobs
- Grease
- Pasta
- Rice
- Items other than food such as paper or plastic
How to Fix a Clogged Garburator
Before you call a plumber for garburator repair, you can try to clear the clog yourself using these steps:
- Disconnect the power to the unit at the breaker panel to avoid possible injury or dismemberment.
- Test to ensure the power is off by turning the unit to the "On" position. If nothing happens, turn the switch back to the "Off" position before continuing.
- Use a flashlight to peer down into the drain. If you see any foreign objects, try to remove them with needle-nosed pliers.
- If that does not resolve the problem, position yourself underneath the sink beneath the disposal and locate the hex-head bolt in the center of the unit.
- Insert the supplied hex wrench or Allen wrench into the bolt and turn it back and forth to loosen the jam inside the disposal. You may need to continue this process until you feel a decrease in resistance.
- Press the reset button at the base of the unit.
- Resume power to the garburator and test it to see if the clog is gone.
- If the garburator continues to drain slowly, the clog is likely in the P or S-shaped fitting that lies just past the garburator discharge pipe.
- Place an empty bucket below the pipe and loosen the nut using channel-type pliers.
- Check for a build-up of debris and clear it using a small brush.
- Reassemble the pipe and test the garburator to see if the clog is resolved.
Prevent clogs and keep your garburator looking and smelling clean by avoiding the wrong foods and keeping up with regular maintenance and cleaning.


